Pages

Sunday, March 24, 2013

2013: our story so far...

It's March.

Almost April.

It's been a busy year so far. Jason is fully ensconced in his USMC recruiting billet, which includes working nights, weekends, and every hour in between. Seriously, my husband is pulling 16-hour days 6-days a week. It's ridiculous. But like any duty assignment we know it's not permanent and we're just thankful we still get to be in Southern California. As for me, I'm now coming up on 8 months in my new position. Rewarding/exhausting/fulfilling doesn't even begin to describe how I feel about my job. Going from being low-man on the totem pole to being part of a management team has been one of the highlights of my clock-punching history. 

But our lives make for pretty dull conversation. 

"How are things?"

Busy!

"What have you guys been up to?"

Working!

"What do you do on the weekends?"

Nothing!

Snooze-fest! Haha, but there is something to be said about finally having a routine. And although to some it's their idea of a suburban nightmare, to us it's been pure bliss. 

Other noteable happenings:
- We celebrated our seventh wedding anniversary on February 19 (ladies and gentlemen  we've officially reached the seven year itch phase!)
- Tessie has officially been part of the family for 2 years now (March 17, 2011)
- We're coming up on our first anniversary of living in our "chosen" city (not digging the rental scene much anymore, but with 8-years left in Jason's military career, this isn't a time for us to look at buying) 
- I'm obsessed out of my head with currently reevaluating my choices in beauty and household products (for some reason 2013 is the year I became really conscious about what goes on my body and in our living space)
- We've both agreed to start making a better attempt at using all the amazing cookbooks that have been given to us over the years (our current favorite is one with 5-ingredient vegetarian meals)
- We have officially kicked our Starbucks habit (I was a venti-a-day user, so for me this has been very satisfying--not to mention wallet friendly)

I'd say I'm hoping to get back to blogging regularly again, but I feel like that just sets me up for failure. So we'll just keep our fingers crossed on that one, mm'kay?

Tuesday, January 1, 2013

Painting shoes {a tutorial}


We have done absolutely nothing today, and it's been blissful. Me, Jason, and Tessie have all be snuggled in bed; it has turned into our town. Although I have been spending some quality time with my dear friend Pinterest! Getting hooked on new blogs and new ideas for replenishing and remixing my wardrobe with nothing more than my sewing machine (I'm currently hooked on Merrick's Art, which is making want to re-evaluate every piece of clothing in my closet to find ways to improve them). And it made me wonder, can I paint shoes? If you haven't seen this pin, it's where I got my idea.


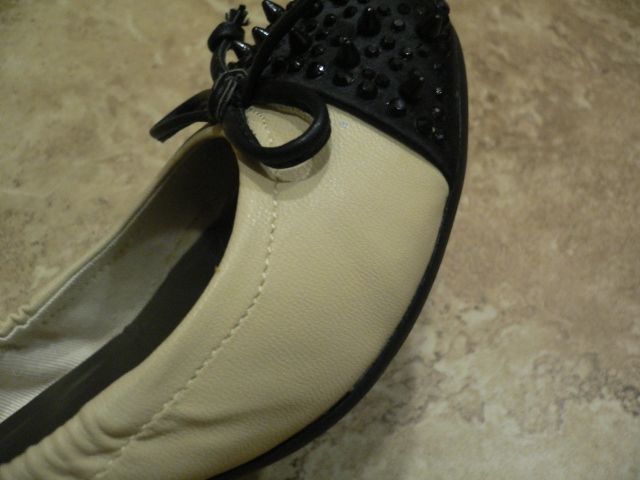
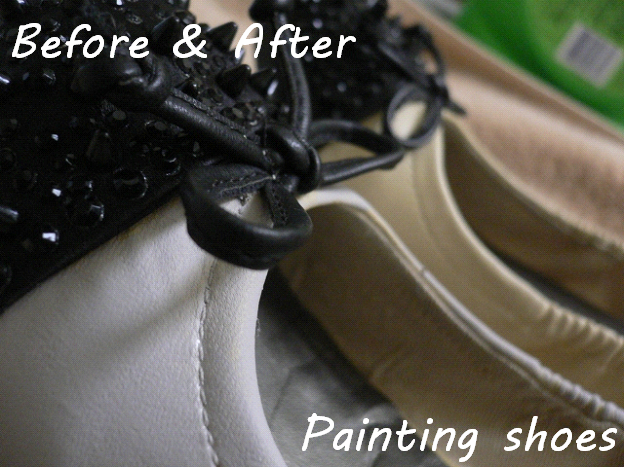
I have a pair of ballet flats from Khol's, from their Simply Vera by Vera Wang line. I'd purchased them originally because they reminded me of an expensive pair that my mom had by Sam Edelman (she bought hers at Nordstrom's for upwards up $150). Mine were $30. The only problem was after I got them home, I realized the color wasn't quite as "neutral" as I'd thought they were. So they sat in my closet, unworn, but loving gazed at, and waiting for the right outfit (the pictures make them look like a much lighter shade than they really are--they're almost more of a light brown than a white wash khaki). Today I decided to make them the right color for my outfits.


I started by mixing some acrylic paints I had sitting around the house. I knew I wanted a gray-ish color since I have a lot of blues, blacks, and grays in my wardrobe. Then I mixed it with some fabric medium (the stuff everyone is using to paint furniture fabric these days). You can kind of tell by the picture that these shoes are a faux-leather. I figured fabric medium was my best bet to keep the paint flexible enough to where it won't crack after I wear them for a day.
 
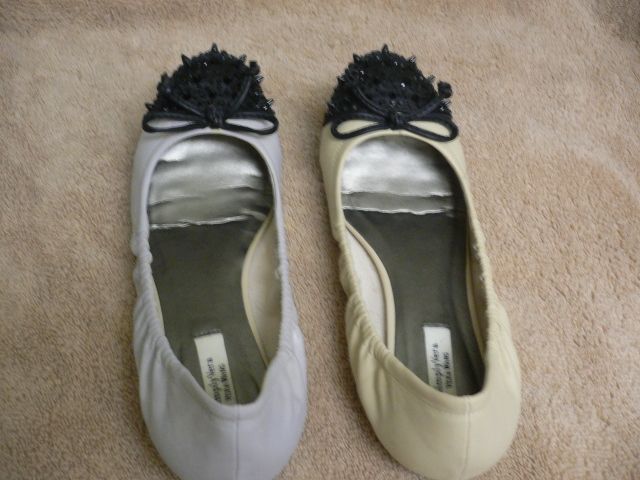
Then (using a tiny make-up brush I never use) I just started painting. I started on the underside and worked my way to the top so that the bottom would be dry enough to set down once I was finished. This was the result after the first shoe was finished (you can see the difference better between the gray and the "khaki").


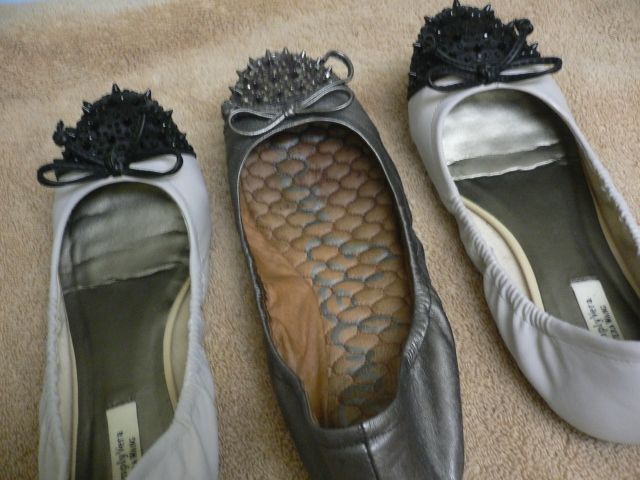
Since I was pleased with the results, I moved onto the second. I'm so happy with how they turned out (and how easy it was to do). The entire process took maybe 10-minutes for each shoe. Here they are next my inspiration. The Sam Edelman shoes are way more metallic than mine, but now that I know this method (seems) to work, I may try to find a metallic acryllic paint (do those exist?) and give it another go.


In the meantime, I stashed the remaining paint mixture in an empty acryllic paint bottle for any touch ups I might need. Once I've worn them a few times I'll update with how they're holding up! Happy painting!

Saturday, December 22, 2012

Bin me up, Scotty!

Ok, that was a supper cheesy Star Trek reference, but I couldn't help it. But at least I'm finally getting some freaking Christmas pictures up!

Side note: it has taken me two very depressing years to get my Christmas cheer back. I don't know why it went away, I don't know how or why it came back, but all I know is I am embracing it with open arms. So forgive me if I am spouting Christmas excitement and annoying projects like a fountain.

If you're like me, you drool every year over Pottery Barn's beautiful but expensive tree skirts. This one has always been my particular favorite since it matches our stockings. It just also happens to be $129 before monogramming, tax, and shipping. Ouch.


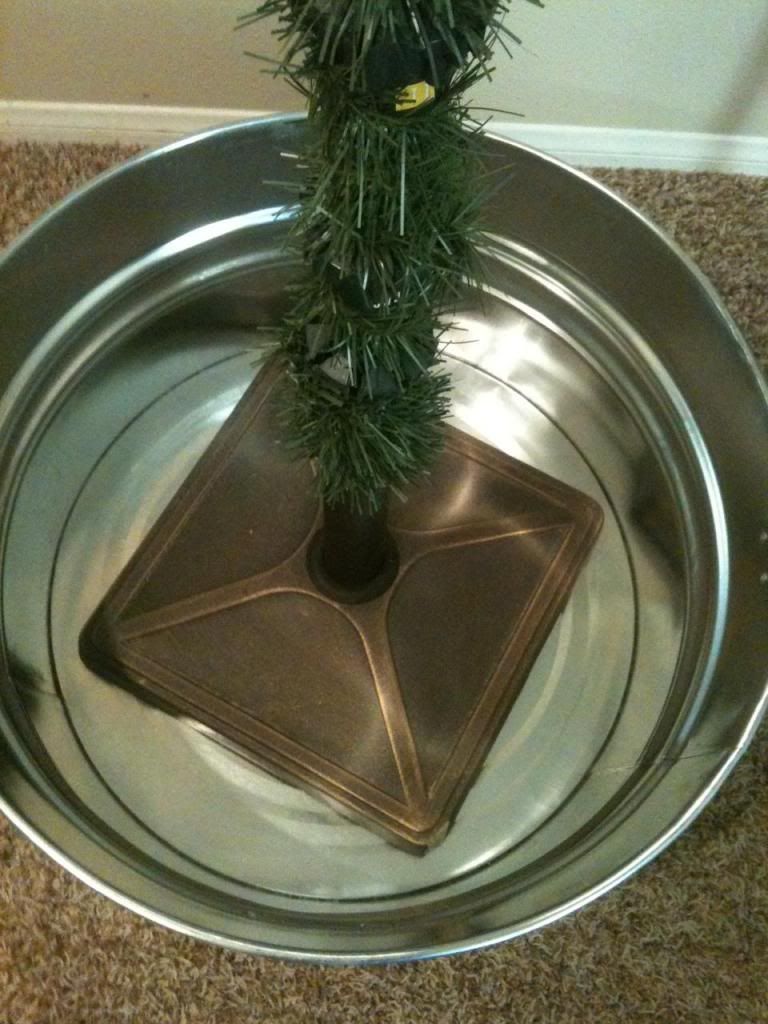
But the bottom of a faux tree is U-G-L-Y! I've tried covering it with multiple items over the years without much success. Everything just kind of looked cheap. So this year I opted for an old reliable fallback: galvanized tin. We grabbed a $20 bin from Home Depot (this guy was with the trash cans). Unfortunately the original base was too big for the tin, so we improvised. If you run into the same snag, we used an outdoor umbrella base to keep ours steady--heavy enough so the tree wont topple over, the tree fit inside perfectly, and the base fit into the tin with room to spare! 


Here it is in all its glory (I used this method for lighting our tree and it was much more simple than going round and round and round like we usually do). The glittery white star we got on clearance from Target a couple years ago. It had a "halo" of colorful balls around it that I snipped off using garden shears.


A few of our favorites on the tree: glass snowflake ornaments from Target (from our first Christmas together in 2005), these Big Lot ornaments that look way more expensive than their $4 price tag (and technically $4 got me a pack of 8, so really they were all of 50¢, and of course our Marine Corps cover (one of many patriotic ornaments we've collected over the years).


Oh and FYI I'm sorry for the fuzzy iPhone pictures, but these were shot before the Lumix was in the process of getting fixed, and the memory card getting corrupted.